Saturday, February 8, 2014

Beginner Pottery 6-Week Class (also known as "Throwing Pottery Is So Much Harder Than It Seems Like It Should Be")

We clearly had no idea what we were in for when we signed up for the Beginning Pottery Class. It became immediately clear that several steps had been done by someone else during our 2+2+2, fully shielding us from most of the steps involved in making pottery, including all of the difficult ones. I don't have too many pictures of our time at the studio, so you'll just have to use your imagination as I try to describe the things we've learned so far.

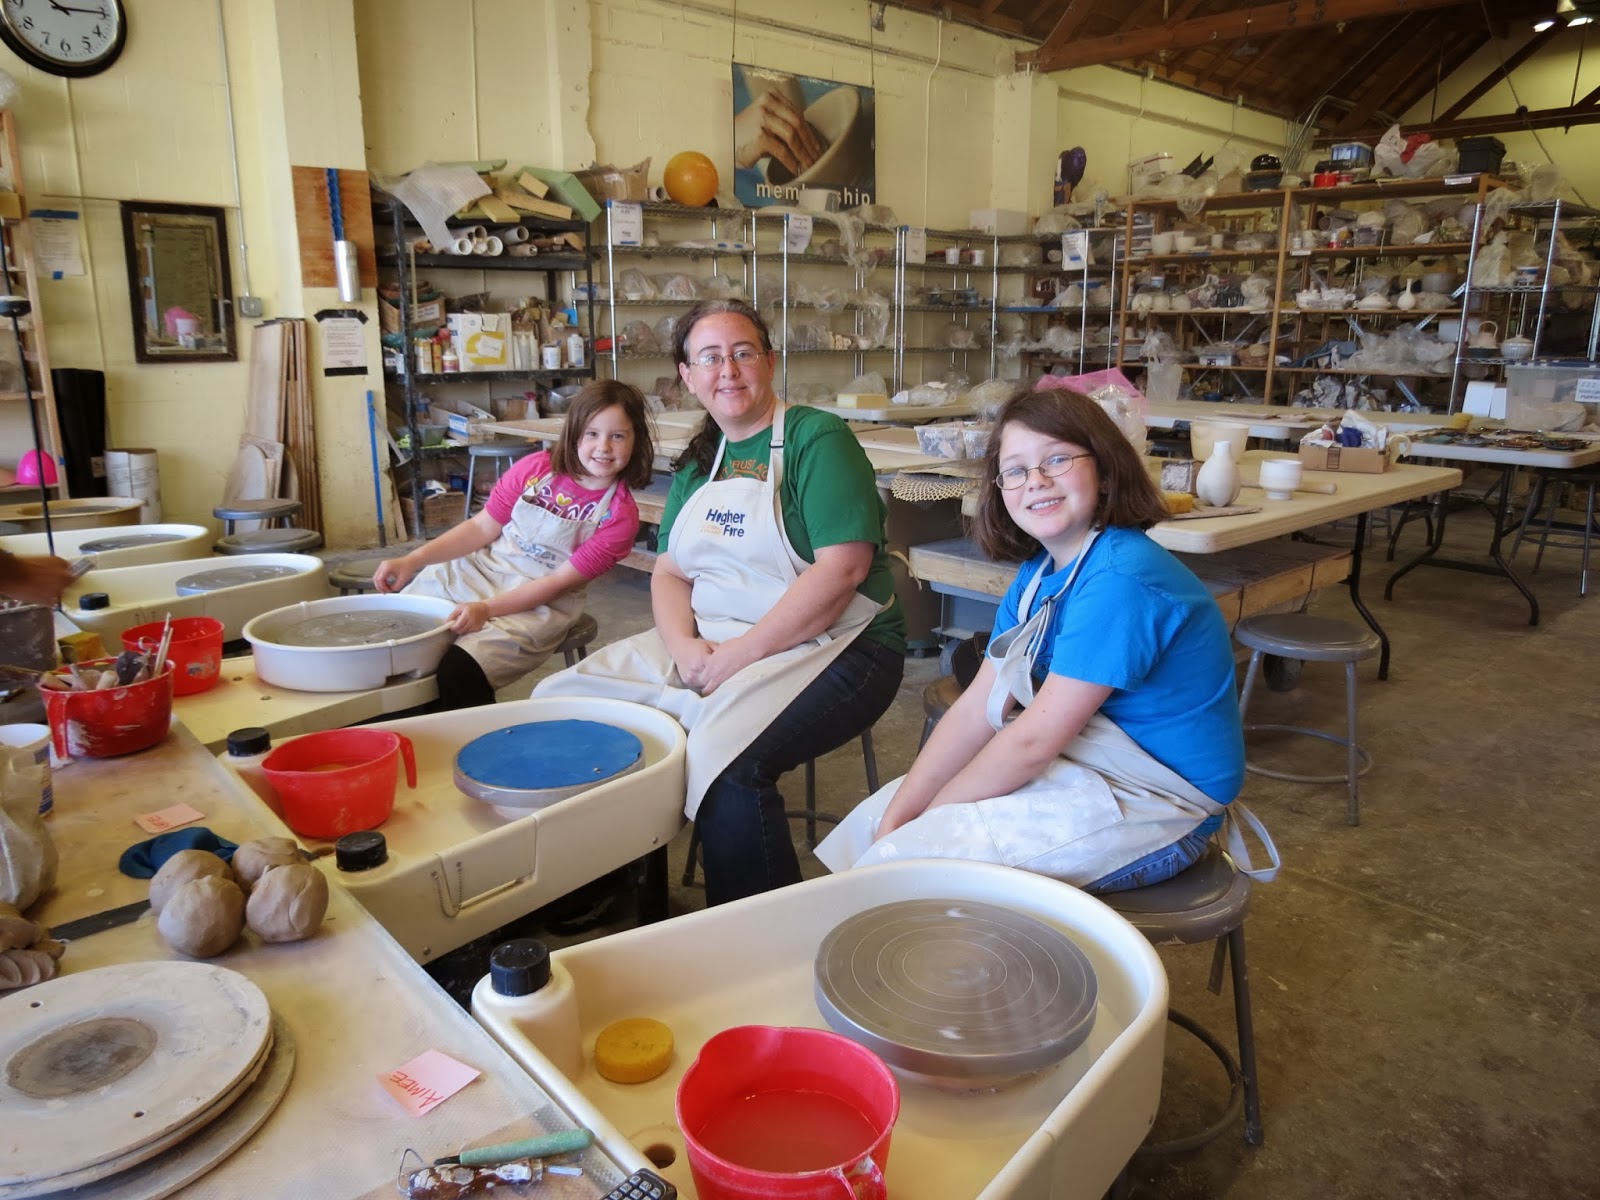
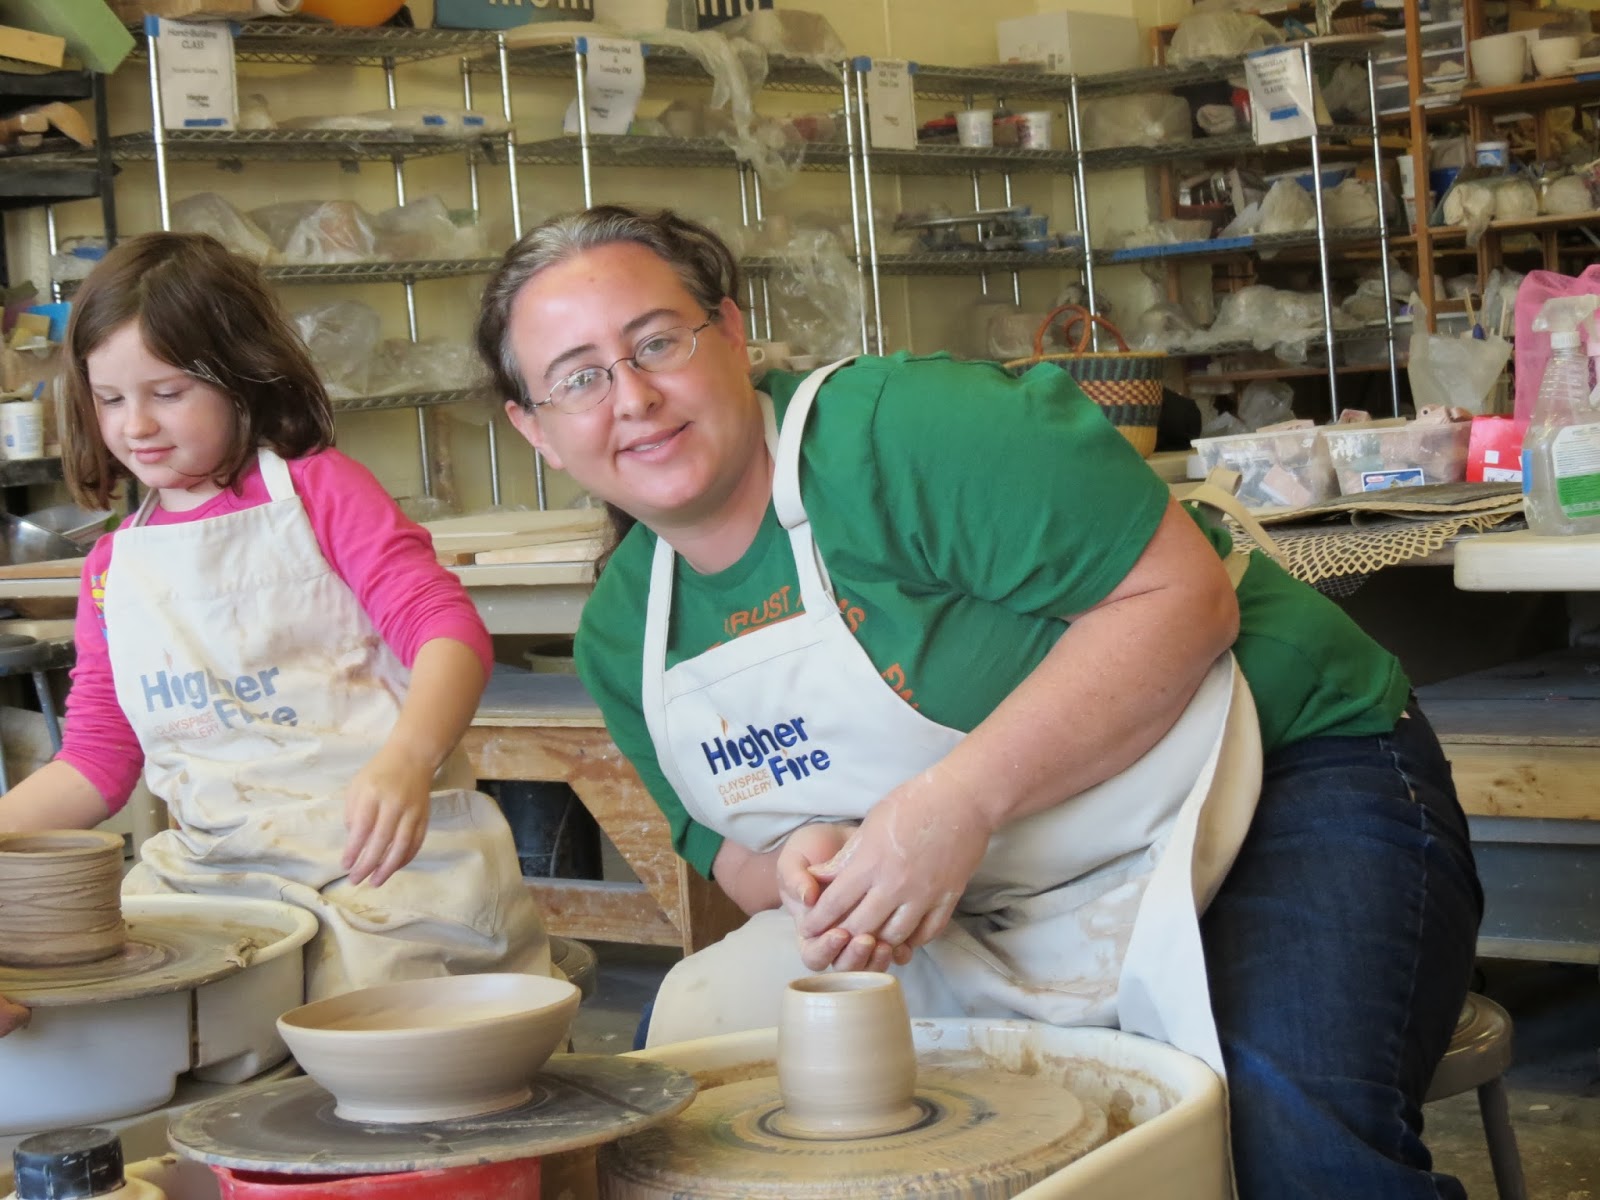
We knew that centering the clay would definitely be part of the lesson - we just had no idea how difficult that seemingly simple task could be. Essentially, the idea is to take a lump of clay and turn it into a pretty little domed shape that is smooth all around and perfectly centered right in the middle of the wheel. Sounds simple enough, right?
Needless to say, practicing this technique took up our entire first 3-hour lesson, and most of the people in the class still didn't quite get it by the end of the class (including us). Lucky for us, we had purchased the Open Studio package, which allowed us in the studio any time during operating hours. We dropped in a few days after our lesson, and with a few tips from a nearby experienced potter and a few others in the studio, we had the feel and technique pretty solid by the time we left, and could center our clay fairly quickly.

It's a good thing we stopped in to practice centering, because the next class was about making bowls. Even though most people were still struggling, the teacher helped each of us make at least one bowl and worked with us on the basic steps. A few of the people there had definitely been at this for a while now, so they pretty much just did their own thing while the rest of us struggled to make a single semi-symmetrical object.

With two weeks under our belt, we were feeling pretty good about centering and the general steps of making a piece, which usually ended up approximately cup or bowl-shaped, so the third week our teacher turned his attention to showing us how to trim and finish our pieces. Our class had made a surprising number of pieces already at this point, and I guess we were taking up too much shelf space, so we pulled them all down and learned how to polish the rough edges and trim the sides and bottom of the pieces. At this point, I had managed to create 5 things, and A had a solid 3 pieces. And please know that when I use the term 'pieces', I use it rather loosely as many of the things we make just seem to make themselves into whatever they want to be. There isn't a whole lot of inspiration or design involved here at this point.

A's 3 pieces before trimming

My 5 pieces

We had to miss the fourth class because A was a little under the weather, so we joined another class on Saturday morning for a make-up class. During that session we learned how to coat our pieces in glaze and glazed one of our pieces in the color of our choice. We also learned several different ways to make handles for coffee mugs, so we both decided to sit down and throw a mug on the wheel in anticipation of adding a handle to it at some point.

Trying to choose her glaze - so many options!

And that bring us to the fifth class, which happened just a few days ago. I can't believe this series has gone by so quickly. We've learned so much, but we still have a lot of practicing to do if we want to get better at doing this. It is simply astonishing some of the pieces these people make at this studio. While we were there on Saturday, I took a couple of pictures of someone who had two amazing pieces he was finishing up.

Seriously, look how huge that bowl is!

 
I loved the spout on this pitcher - he didn't even seem to be trying.

And it doesn't help that our teacher makes it all look so easy...

He's done much more amazing things than this, but I usually just gawp and stare and forget to grab my camera. Maybe I'll get a better video next week...

At our fifth class we actually glazed all the rest of our pieces, which took a good portion of the class time. A and I also trimmed the mugs we made on Saturday and I actually surprised myself by pulling two pretty decent-looking handles for both of them. One was small and went on A's cup, and the other one was quite hefty, which was a good complement to my giant cup. With a little help, we attached both handles and put the mugs on the firing rack. We even managed to make one press plate (like the ones we made in our first class) because our teacher has a special thing planned for them at our last class. It's so funny how excited he gets about pottery - you should have seen the electricity in his eyes when he excitedly told us about the possibilities of Shino (Shino Glaze images), and he always points out things like aesthetics and design in every piece he touches, which makes sense to us, but doesn't seem quite as pressing as simply making something that stays in one piece, stands up under its own weight, and generally resembles something that might be remotely useful (candy dish, anyone?)

Our next and final class is sure to be a packed one. He wants to do a potluck dinner as well as do something called  a Raku glaze. The way he explains it, it sounds like we'll take a hot glazed piece out of the kiln right when it's done firing and then put it into a container full of combustible material, making a huge fireball and what should be some pretty cool-looking streaking and patterns on the piece. Honestly, I think it sounds a little bit scary, but he seemed very excited about it. I'll try to remember to take a video, if we survive it.

We stopped by the studio today to make a couple more press-plates that we'll hopefully use for the Raku glaze Monday night, and to trim our bowls. While we were there, we couldn't help ourselves and we made a couple more pieces. I'm still having the same collapsing problem with mine because I've got uneven thinning on the side walls, but lucky for me I like wonky bowls, because now I have a bunch of them. We also caught sight of a few of our glazed pieces coming out of the kiln, so hopefully I'll have some photos of those pretty soon, too.

For now I'll leave you with this one last picture that is the very last thing we do every time we go to the pottery studio - clean.


Tuesday, February 4, 2014

Finished Pottery Photos

 Here are the pictures of our completed pottery from our first session. I think they came out pretty good!

My wonky bowl done in Berry Rust glaze (the wonkiness is a little more noticeable now than before it was glazed). It is currently acting as our candy bowl in the kitchen.

K's bowl in Breaking Blue glaze

Side view of K's bowl with stripe detail

A's bowl in Yellow Salt glaze

K's big tray in Plum Chun glaze

K's medium tray in Berry Rust glaze

My tray in Celadon Blue glaze

K's short and wide cup in Sapphire Blue glaze (4" wide and 3" high)

A's medium tray in Flambe glaze

A's small tray in Ash glaze (Ash something, I forget the full name)

C's snake that miraculously survived the kiln intact (K's guinea pig wasn't so lucky and came out looking like a gummy bear after some obviously serious rebuilding by the studio staff). This snake has a cool, dark green glaze on it.

C's tray in Breaking Blue glaze

A's big tray in Laura's Turquoise glaze

A's short and wide cup in Hamada glaze (3 3/4" wide and 3" tall)

K's little tray in Temmolou (sp?) glaze

My surprisingly proportionate but still short cute little cup in Smokey Blue glaze (2 1/2" across x 3 1/2" high)

My tray I made for Mike in Plum Chun


And that completes our pottery from the 2+2+2 class. When we went in to pick up our pieces, we asked them about coming back again sometime. They mentioned that the next 6-week beginner's class was starting that evening (how coincidental!), so we ended up back there that same night for our first serious class. It didn't seem so tough in the short class - how hard could it be, right?

(Answer: very hard!)

More pottery pictures to come...

Tuesday, January 7, 2014

Giving Pottery A Try

A has been wanting to try making pottery on a wheel for a couple of years now, no doubt spurred on by her Auntie Jaimee, who's been throwing pottery for many years now and is quite talented. Grandma gave her money towards a pottery class last Christmas, so after many months of indecision and balking at the high price of classes here, we decided to just go for it and try a class. The class was called a 2+2+2  (2 people, for 2 hours, making 2 pieces), and was a good fit because it was scheduled just for us so it was a private class, and was done during the day when the studio was pretty much empty. The pottery studio we chose is just on the edge of downtown, and is a very serious studio, with hundreds of pieces of amazing artwork in every corner of the place. Some of the classes I looked at in other places were much more casual and included a small amount of time on the wheel, but this place was the real deal (and the prices showed it).

a few of the many, many shelves of unfinished pottery around the studio

Once we got there, K decided she wanted to try making pottery, too, and they said we could add her on to the class for a small fee, so we went ahead and did that. Who could say 'no' to these cuties in their aprons?


The teacher gave us a quick tour of the studio, including a look inside the huge kilns

this one was empty and cool, but there was one more to her left that was on and mighty warm inside

And then we sat down behind the wheels, ready to get to work on our pieces.


The teacher had all of our stations set up for us already, and while he covered a few of the basics of how to throw pottery (like wheel speed and water usage), he did all the hard stuff, like centering the clay and helping us stay on center and form our pieces.


Our first assignment was to make a bowl, so we worked ever-so-carefully pulling the clay up and spreading it out, and making the inside have a beautiful, even curve.


A's bowl

I had definite issues keeping my clay consistent, and I ended up with quite a wonky bowl. I tried again, but it ended up just as wonky. Good thing I'd fallen in love with my uneven bowl, and I wasn't disappointed with it at all.

My bowl - you can't really tell it's crooked here, but when it was spinning on the wheel, it was really obvious.

K's bowl

After our bowls were all finished, it was time to work on our cups. This helped us practice pulling the clay up even higher, without widening it. We weren't very good at thinning the clay, though, so our cups were very thick and stout.

A's cup (she had used a design tool to make diagonal lines on the outside.


A's bowl and cup, all finished

My bowl and cup (and K's cup on the side of the photo)

Our second project was to sculpt the clay using our hands instead of the wheel. We made our way over to the giant hand-cranked flattening wheel to squish the clay down flat and thin, kind of like you do with pasta.

that's our clay pre-flattening on the table on the right

Once the clay was flattened, we got to work, cutting out different sized rectangles using wooden blocks as guides, and then smoothing the edges and top. Next, we used stamps, rollers, stencils, and carving tools to decorate the surface of the rectangles however we liked. The last step was to put the clay on top of a giant foam block and then press down in the center of the clay with a slightly smaller wooden block than we had used to cut the form, so the edges would curl up on all sides. The looked a little bit like sushi plates when we were done.

A making patterns on the clay

One finished tray from each of us (plus a free-form piece that C made on the upper-right, even though she wasn't in the class). Each of us made three of these trays, in any size we wanted. I let C make one of mine. That's hers with the gecko in the front.

After our trays were all done, we had just enough time to pick the glazes for all of our pieces. It was tough to make a choice from all of the beautiful samples.

Choices, choices...

All the pieces were given little slips of paper with the chosen glaze color on them. Can't wait to see how they turn out!

That's a guinea pig on the table with the trays, in case you couldn't tell for some reason. C also made a snake. They aren't sure if those pieces will fire without falling apart, so there's no guarantee, but they offered to give it a try.


Actual Date: 12/5/13

Monday, December 30, 2013

Farm Sitting - Days 3 and 4

Now that we had all of our other obligations out of the way, it was time to sit back and relax and enjoy our last two days of working at the farm house. I spent some time shopping on my laptop for Christmas gifts while the girls watched TV and played outside on the trampoline. We got all of our chores done each day with no additional stress or rushing, and even took the dogs for walks. It was nice to have these two days to really relish the experience, as well as to relax a bit.

C with Oliver

K with Cookie (the duck)

Jan

C with Chocolate Chip (the duck) and Oliver being curious

A with Cookie

C walking Oliver, K walking Olivia, and A with Stewie and Hoover (it's kind of like that game - "follow the leash to see who is walking which dog")

girls and dogs on the trampoline

K relaxing with Oliver and Hoover

Hoover, very relaxed

K with Oliver, the cuddle-bug

Jan (background) and Robin (by fence)

Milagro

And here is a video taken by K, so you can see the entire farm house from her perspective (with lots of shots of her shoes - we may need to work on her video-taking skills)


Goodbye farm, it's been fun!